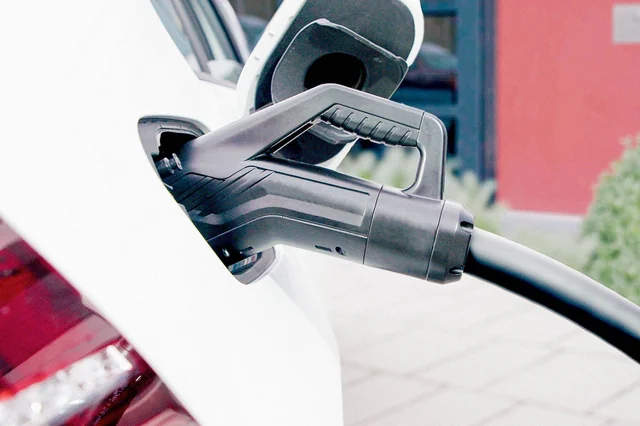
To Install an electric vehicle (EV) charger at home is an important step towards reducing your carbon footprint and embracing sustainable transportation. This comprehensive guide will walk you through the process, from initial planning to the final installation. While it may seem daunting, with the right information and guidance, you can successfully set up an EV charger at home.
Electric vehicles (EVs) are becoming increasingly popular as a cleaner and more sustainable mode of transportation. With the rise in EV adoption, it’s essential to have convenient and reliable charging infrastructure and one of the most convenient places to charge your EV is at home. Installing an electric vehicle charger at home can save you time and money while providing a more convenient way to power your EV.
Why Install an EV Charger at Home?
Before diving into the installation process, it’s important to understand why having an EV charger at home is beneficial:
- Convenience: Charging your EV at home means you don’t have to make trips to public charging stations regularly. You can simply plug in your vehicle overnight or whenever it’s convenient for you.
- Cost Savings: Home charging is often cheaper than using public charging stations or gasoline. You can take advantage of off-peak electricity rates and potentially save on fuel costs.
- Environmental Benefits: EVs produce fewer emissions than traditional gasoline-powered vehicles. Charging at home using renewable energy sources can further reduce your carbon footprint.
- Increased Resale Value: Installing a home EV charger can increase the resale value of your property, making it more appealing to potential buyers.
Now, let’s dive into the step-by-step process of installing an electric vehicle charger at home.
Step 1: Determine Your EV Charging Needs
Before you start, assess your EV charging needs. Consider the following factors:
- EV Type: Different EVs have varying charging requirements. Determine the charging voltage and amperage your vehicle supports.
- Charging Speed: Decide if you want a Level 1 (120V) or Level 2 (240V) charger. Level 2 chargers are faster and more common for home installations.
- Location: Choose a suitable location for your charger. It should be easily accessible and near your parking space.
Step 2: Check Local Regulations and Permits
Research local regulations and obtain any necessary permits for EV charger installations. Check with your city or county authorities to ensure compliance with zoning codes and electrical permits.
Step 3: Choose the Right Charger
Select an EV charger that suits your needs and budget. Consider factors like charging speed, brand, and features such as Wi-Fi connectivity or smart charging capabilities.
Step 4: Electrical Panel Assessment
Evaluate your home’s electrical panel capacity. Ensure it can handle the additional load of the EV charger. You may need to upgrade your electrical panel or service if it’s insufficient.
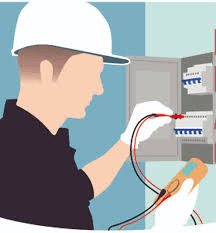
Step 5: Hire a Licensed Electrician
It’s crucial to hire a licensed electrician for the installation. They will ensure the charger is safely connected to your electrical system, preventing any potential hazards.
Step 6: Electrical Wiring and Installation
The electrician will install the necessary electrical wiring, conduit, and outlets for the charger. This process may involve running wires from your electrical panel to the charging location.
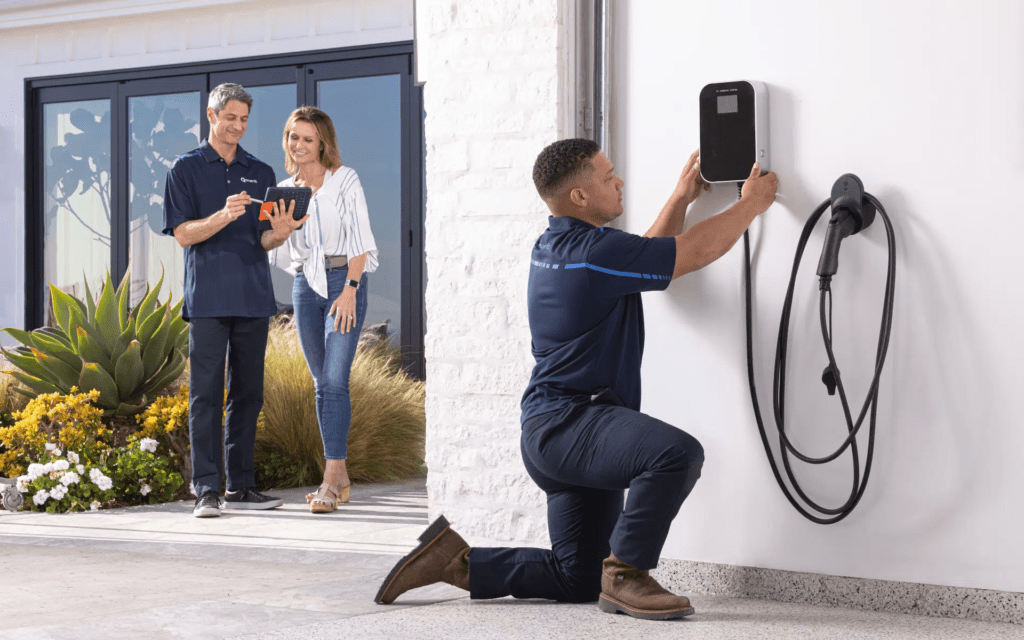
Step 7: Charger Mounting
Mount the EV charger securely to the wall or a suitable post. Ensure it’s at the right height and easily accessible for plugging in your EV.
Step 8: Electrical Connection
The electrician will connect the charger to the electrical wiring, ensuring all connections are secure and up to code. This step involves making precise electrical connections to prevent any issues.
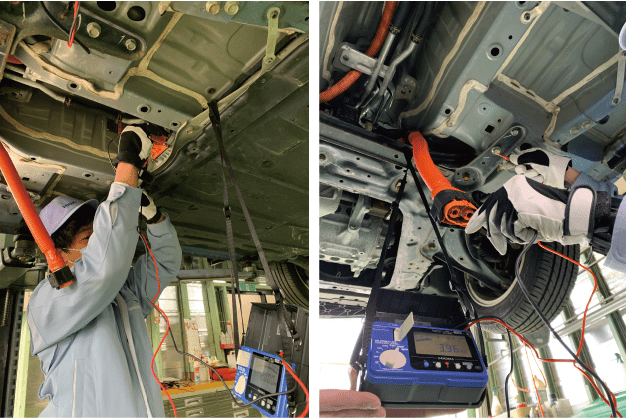
Step 9: Testing and Inspection
After installation, the electrician will thoroughly test the charger and electrical connections to ensure everything is functioning correctly. They may also schedule an inspection to confirm compliance with local regulations.
Step 10: Network Setup (if applicable)
If your charger has smart features or Wi-Fi connectivity, follow the manufacturer’s instructions to set up the network connection and configure any relevant settings.
Step 11: Final Checks
Before using your newly installed EV charger, perform some final checks:
- Ensure the charger’s cable and connectors are in good condition.
- Verify that the charger communicates with your EV properly.
- Check for any error codes or issues on the charger’s display or app.
Step 12: Regular Maintenance
Maintain your EV charger regularly to ensure its longevity and performance. This includes cleaning the unit, inspecting cables for wear, and keeping the charging area clear of debris.
Installing an electric vehicle charger at home is a significant investment in sustainable transportation. It offers convenience, cost savings, and environmental benefits. By following the steps outlined in this guide and consulting with professionals as needed, you can successfully set up an EV charger at home, making your transition to electric mobility smooth and efficient.
You might also like, The Different Types of Electric Vehicle Chargers 2023!